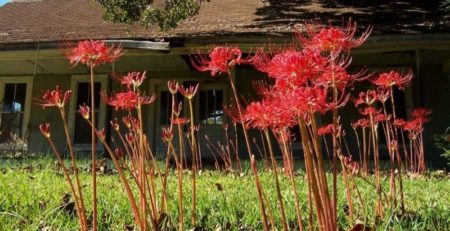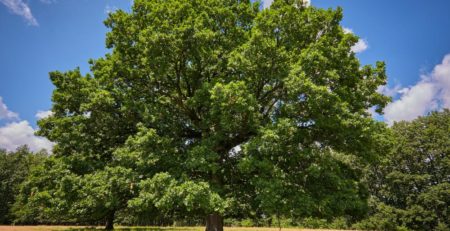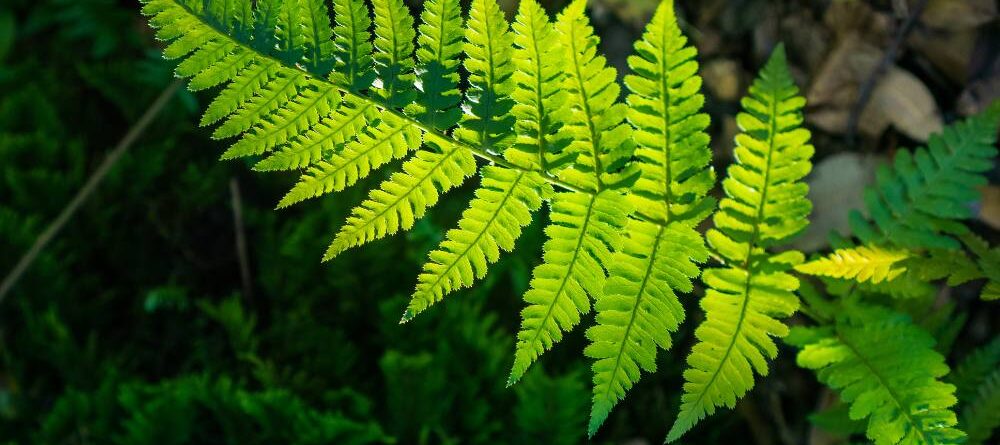
Thoughts about Photography in the Garden
Whether you are a pro with a Nikon or just a gardener with a phone, here are some tips you can use to make the most of those photos.
It’s fun to document progress through the various times of year with your photos. You might want to create a comprehensive shot of the garden. Document the garden with all its parts. You can follow your garden through the seasons, the colors and the balance of colors change every season. Here in Texas, of course we usually have two seasons, the HOT one, then everything else. Although recently there has been a third season, the deep winter freeze. All these offer opportunities for showing the changes you observe.
The things that cause interest in a photo are the position of the object in the frame, the juxtaposition of colors, and the focus. Do you want a small bit of focused material and everything else fuzzy? Usually the closer the focus on the primary object, the less distinct the background is. Or do you prefer a more comprehensive shot, so an object is seen in the perspective of the surrounding garden.
When lining up a shot, think does it fit better in a “landscape view” or a “portrait view”. What is it you want to show? The nice thing about having a camera on your phone is that it’s always with you and you can experiment. See what the shot looks like in Landscape and compare it to the Portrait. Back away and take a shot, come in very close and take another shot or two. Do one from the top down and from the bottom up.
I’ve taken pictures of flowers in my garden for years and I love the close-up ones. When you are shooting up close, think about composition. Don’t position your object in the middle of the frame. You may want to avoid pieces being cut off by the edge and you don’t want things in the background competing for attention. You may have to physically move yourself around to see the best shot. Don’t be afraid to shoot the flower from the back for a different view. It’s worth it to Google how to make changes in your phone’s camera. On an iPhone there are 3 circles overlapping on the edge of the photo. You can tap these and change the colors to the palate you want. You can use your fingers to make the area closer or wider. If you tap the screen, you will find the focus and if you grab the little “sun” you can make the picture lighter or darker.
Also keep in mind the time of day. The full sun beating down makes a very flat shot, try to wait for a cloudy day which make the colors more concentrated, or the very best… wait for the “Magic Hour.” The “Magic Hour” is the time just before Sunset or just after sunrise. It is amazing what this light does to the colors when the sun shines through the leaves and makes the petals of a flower glow. Don’t be afraid to bring a squirt bottle with you and mist the flowers to make them “dewy” before you take the picture.
You may want to include an architectural object. Sometimes the lines of the object contrast beautifully with the randomness in nature. If you want to photograph a person in your garden, give them something to do. I don’t know how many pictures I have of my family with kids standing still, silly fake smiles on their faces. Instead, hand them a rake or hoe and ask them to do some work while you go into the kitchen and sit down. NO, really, ask them to hold something for the shot, maybe a basket of cut flowers, anything to make the photo more interesting and less static. With something in front of them, your subject feels more confident as well. Also, if you really like the person, don’t take a shot of them bending over from behind!
Try occasionally for something displaying contrast. Not everything needs to be shot in color. Black and white is often very effective. You may have a lovely white lily that you can showcase against a black background. This way the lovely curve of the lily stands out. With the iPhone, you can edit an existing shot with a variety of choices, including black and white or emphasize cooler tones of blue/green or heat it up with more yellow/red tones. Experiment until you find something that is aesthetically pleasing.
When we start, the tendency is to put the object in the smack-dab middle of the shot. This does not create any tension or movement in the shot and it’s not as interesting. There is a Rule of Thirds in composition that will make your shots more appealing to the viewer. Basically you imagine breaking up the field into 9 equal squares. 2 lines trisect the horizontal and 2 lines trisect the vertical. If you have a sunset, that would either go on the top horizontal line or the lower line. Not down the middle. If you have a flower, use one of the vertical lines for the stem and let the flower fill in around it. The image fills the screen but has a much more interesting aspect about it.
Lastly, you may hope to catch some garden fauna with your photograph. Find a tripod to mount your phone (or expensive Nikon) and get it aimed exactly where you hope some bees will soon come visit. It will be tricky getting the focus correct. There is a way of setting the focus on an iPhone and many online tips for using your phone for world class photography. If using a camera, there are more tips and tricks online.
Remember, the more pictures you take, the more you will like the end result. It’s been said that it takes hundreds of shots for one to be chosen for National Geographic, and even more for the cover shot. Enjoy your time in the garden and don’t be afraid to use the edit button!
Resources
The Photographer in the Garden (Aperture and the George Eastman Museum), cowritten by Jamie M. Allen and Sarah Anne McNear https://www.architecturaldigest.com/story/photographer-in-the-garden
Use iPhone camera tools to set up your shot iPhone User Guide by Apple https://support.apple.com/guide/iphone/set-up-your-shot-iph3dc593597/16.0/ios/16.0
How To Grow Your Garden Photography Skills Featuring CINDY DYER https://www.nikonusa.com/en/learn-and-explore/a/tips-and-techniques/how-to-grow-your-garden-photography-skills.html Nikon
Rule of Thirds in Photography: The Essential Guide A Post By: Darren Rowse https://digital-photography-school.com/rule-of-thirds/
https://www.nationalgeographic.com/photography Subscribe to the Best of Nat Geo Photography delivered to your inbox