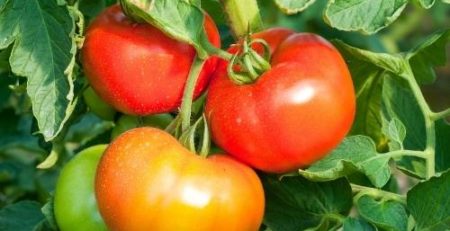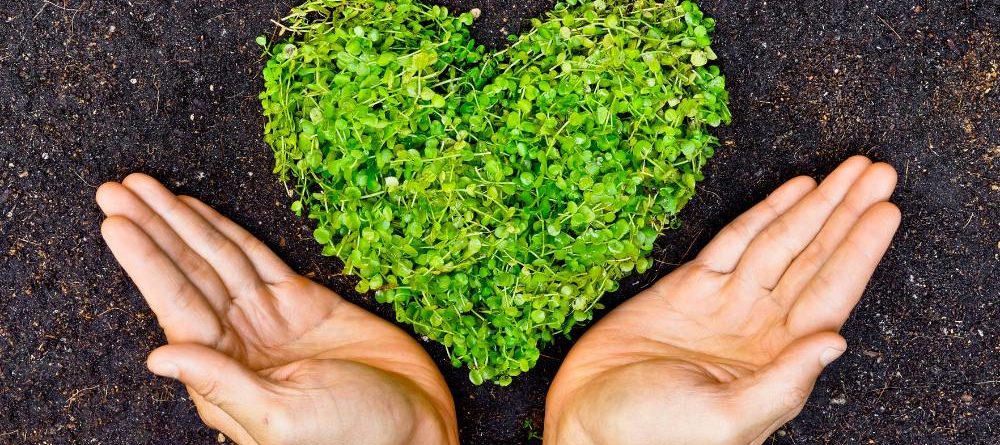
Don’t Trash it, Compost it!
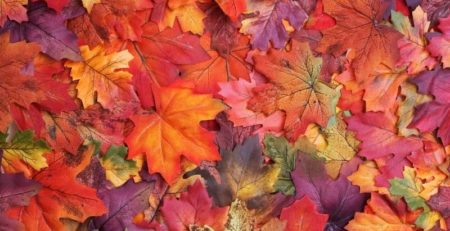
Spring garden cleanup time is approaching. Prunings, dead perennial tops, and leaves have collected through fall and winter; and spring will bring leaves from live oaks and tassels from oak and pecan trees. What do you do with it all? You have two choices: trash them or use them. Since 20 – 30 percent of landfill waste consists of lawn and garden materials, you reduce the burden on the landfill by collecting and using these materials to create a valuable soil conditioner that benefits your plants.
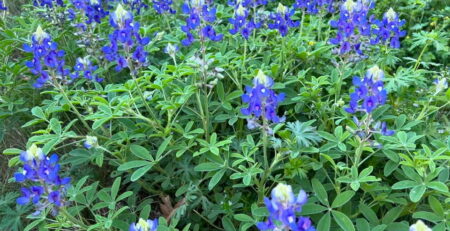
The easiest option is to use lawn and garden materials as mulch. A light layer of leaves, tassels, or normal length grass cuttings can be mowed and left in place to enrich the soil as they slowly decay. If there are too many leaves for this, just rake or sweep them into a pile and chop them with your rotary lawnmower. Then spread the chopped material in a two-to-three-inch layer around perennials and woody shrubs, or a three-to-six-inch layer around trees, especially new plantings. If you have enough material, cover entire beds with a layer; but keep the material a couple of inches away from tree and shrub trunks to avoid promoting disease. This mulch will slowly decompose to enrich the soil, reduce weed growth, help retain moisture, and insulate against temperature swings.
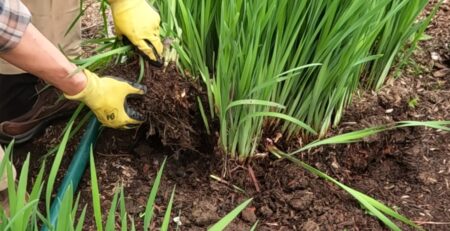
Another option is to compost lawn and garden materials, and this can be easier than you think. A one-to-three-inch layer of compost around annuals, perennials, shrubs, and trees, or over entire planting beds, is an excellent, nutrient-rich soil conditioner. Don’t be put off by elaborate recipes for building compost piles, or recommendations about carbon-to-nitrogen ratios that you have no way to measure anyway. Instead, remember that if you simply leave these materials where they fall, they will decompose and return to the soil. You can’t stop this process, but you can take steps to make the process go faster and create a soil conditioner you can use anywhere you want it. Composting is a set of practices that speed the decomposition process. More programmed and elaborate methods may make compost faster, but you can also be very relaxed about it, using the materials you have available, and still get beneficial results.
The easiest approach to composting is in-ground composting in an area where you want to improve the soil for future plantings. Dig a trench and fill it with shredded leaves, paper, kitchen vegetable scraps, and coffee grounds. If your only available material is dry leaves, no problem. Just chop them a bit with the mower and add a little blood meal or a sprinkling of fertilizer to contribute some nitrogen. After mixing in a little of the soil you removed to provide beneficial microbes, moisten the trench and cover it with the rest of the soil you removed. Water the area periodically to prevent it from drying completely, and let it rest for a few months. When you return to the area to prepare it for planting, you’ll be surprised at the improvement in the soil quality.
The next step up in effort, complexity, and composting speed is to create a compost pile. Build a free-standing pile using leaves and other plant material available to you that you have shredded with your mower. Chopped leaves don’t clump together into impermeable layers as easily as whole leaves do, and the chopping breaks down their protective surface layer so they decay faster. The volume of a pile will shrink dramatically after it’s been chopped with the mower, but aim for a pile that is at least three feet in diameter and as tall as you can manage. If all you have available is dry leaves, go for it. Just add a nitrogen source (blood meal or a sprinkling of fertilizer), mix in a little garden soil, dampen the material as you pile it up, and give it time. You can add kitchen vegetable scraps as they become available, but bury them several inches deep to avoid attracting rodents. Let the pile rest, or turn it periodically to speed up the process.
Another way to speed up the composting process is to improve aeration. Build your pile to start with a layer of twigs and small branches. Then add additional layers of whatever you have available. Chicken or barnyard manure (not dog or cat manure), kitchen scraps, coffee grounds, and green grass clippings are rich in nitrogen while dry leaves, paper, and dry garden debris are poor in nitrogen. Alternate nitrogen-rich layers and nitrogen-poor layers. Include layers of garden soil or finished compost to inoculate the pile with beneficial microbes. Add water as you build, so the pile is slightly damp and water the pile periodically to keep it damp. Once built, you can leave your pile alone and have usable compost in several months. Or you can speed the process by turning the pile weekly or monthly to aerate it. More frequent turning produces compost more quickly. You can use a compost thermometer to monitor activity in your pile. You’ll usually see a rise in temperature after turning it; when the temperature starts to drop, it’s time to turn it again.
An enclosure for your compost pile will keep the pile neater and allow you to make more compost in a smaller footprint. Enclosures can be very simple or they can be a multi-compartment construction. At the simple end of the range, use wire mesh and stakes, bricks, scrap wood, or other convenient materials to enclose a single pile at least three feet in diameter or three-foot square. Design your enclosure with an open side or a side that can be opened to provide access to turn the pile. Adding multiple compartments provides space to aerate composting material by moving it from one compartment to another.
If you’re not already composting, give it a try. Start small and start with the easy approaches. Then look at the results and improvise. Choose the techniques that fit your garden and your preferences and turn trash into nutrient-rich compost. It’s good for the environment, it’s good for your soil, and it’s good for your plants.
Texas A&M AgriLife Extension offers more detailed information on composting methods and whether plant debris is trash or treasure on their website.
")